
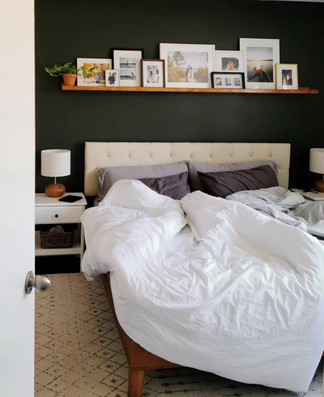
How to Make a Photo Ledge for your Home
|
I’ve always loved the look of a photo ledge to place pictures and plants in the bedroom. I bought some from Ikea for our old condo, and never really got around to using it before the move. Now in the new place, the Ikea ones were too small. I wanted a ledge that made a statement when I walked in the room. I wanted to put as many photos and plants as I could on the ledge. I couldn’t find one I wanted to buy, so we got building. I only had a couple of basic needs for the photo ledge:
|
Here we go.
Supplies + Tool
- 3/4” plywood – you can use any kind. I had leftover Aspen wood, so that’s what I used. You’ll need 3x pieces.
- Wood Glue
- Circular Saw or Table Saw
- 16 Gauge Finishing Nailer
- Orbital Sander
- Clamps
- Wood stain & sealer
- Wood putty
- Stud finder
- 3” wood screw
- Drill
Steps
- Step 1 // Plan and measure - Plan out the length you want for the ledge, the base width of the ledge and the height of the front edge. My 3 pieces were:
- Base Piece: 96” long x 5¼” wide
- Back Piece: 96” long x 3” wide
- Front Edge: 96” long x 1¼” wide
- Step 2 // Cut your plywood to size
- Step 3 // Sand down your pieces using the orbital sander and a medium grit (120) sandpaper
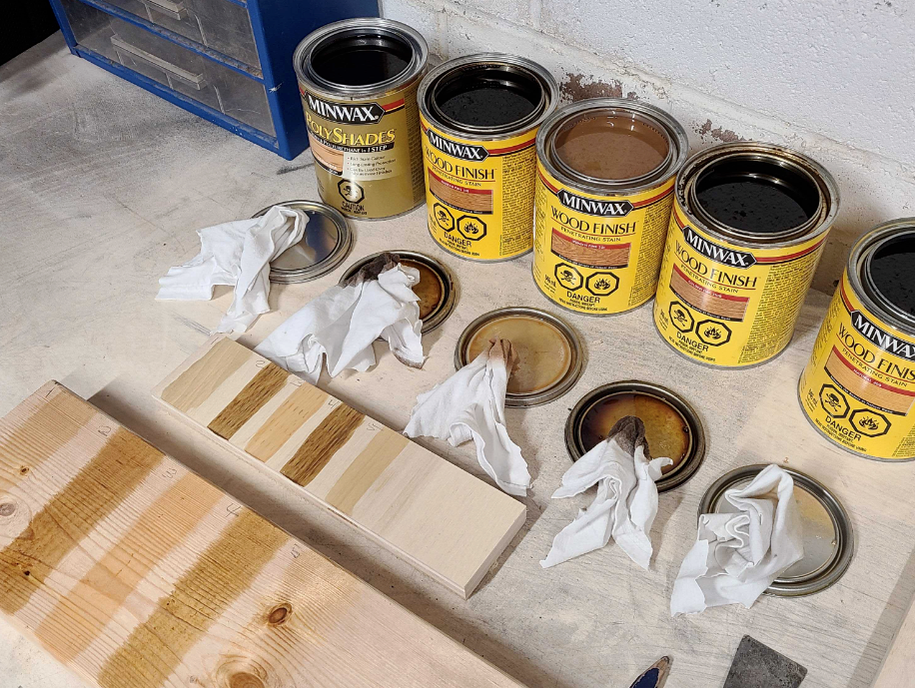
- Step 4 // Choose your stain & stain your pieces! This is my favourite part.
|
TIP
|
|
|
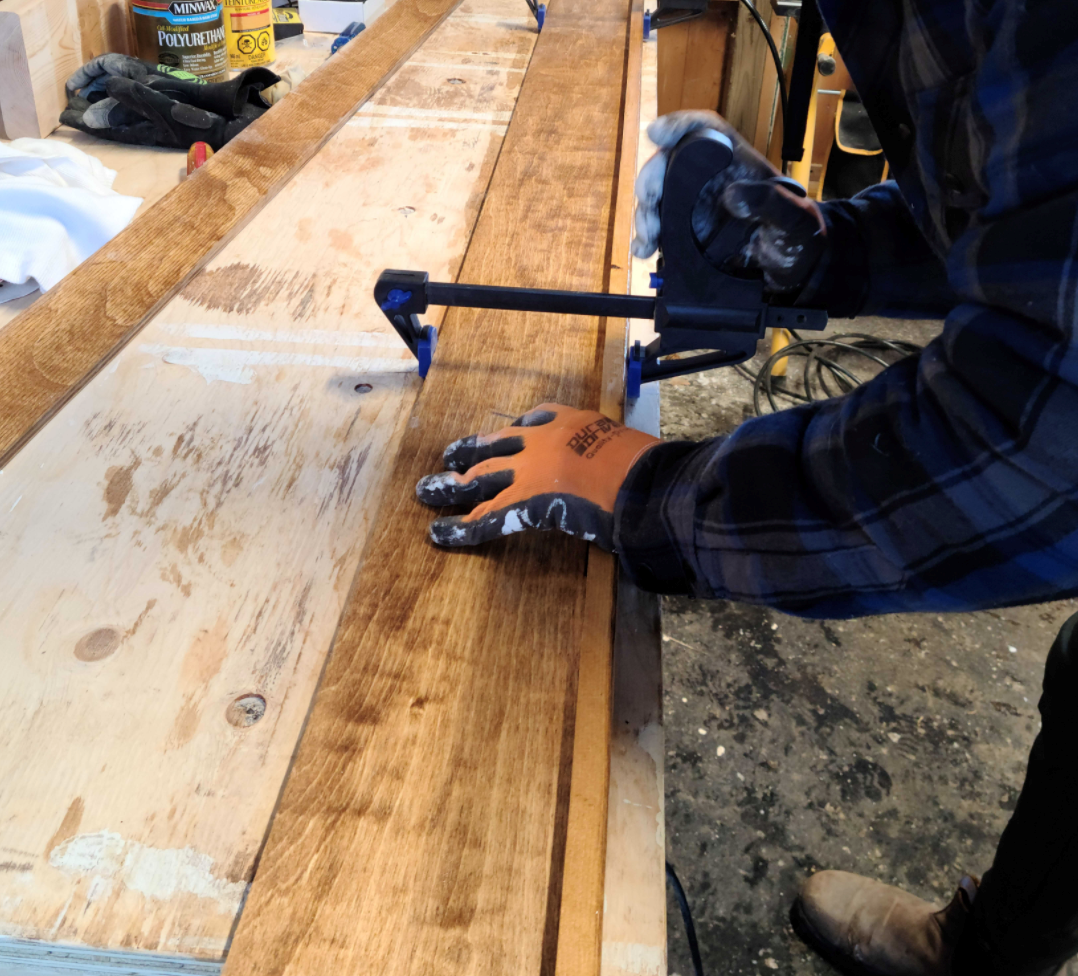
Step 5 // Attach the bottom of the ledge and the 2 sides.
|
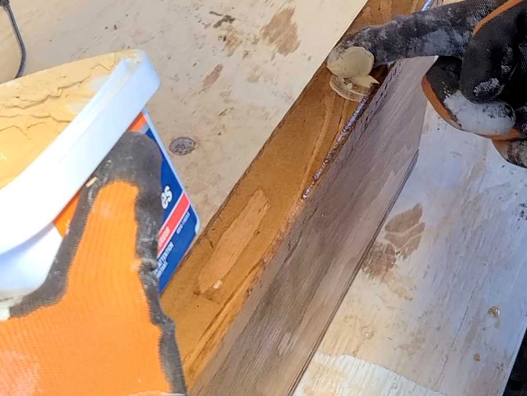
Step 6 // Take wood putty and fill in the small holes created by the finishing nailer. Take a hand sander and lightly sand the filled in areas and re-stain.
|
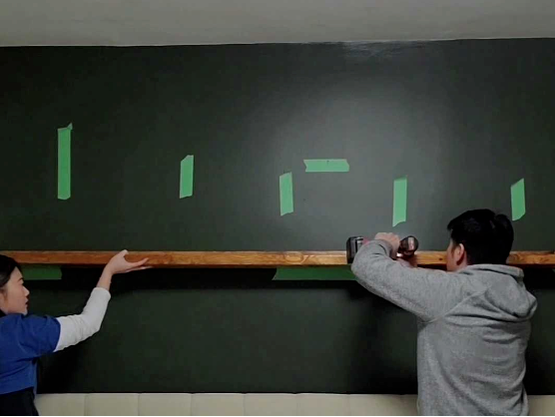
Step 7 // Hang your photo ledge!
|
At the OLVE, we independently select and write about stuff we love and think you'll like too. We are not affiliated nor do we have an advertising partnerships with the brands we may feature.
At the OLVE, we independently select and write about stuff we love and think you'll like too. We are not affiliated nor do we have an advertising partnerships with the brands we may feature.