
DIY: Closet Door Upgrade
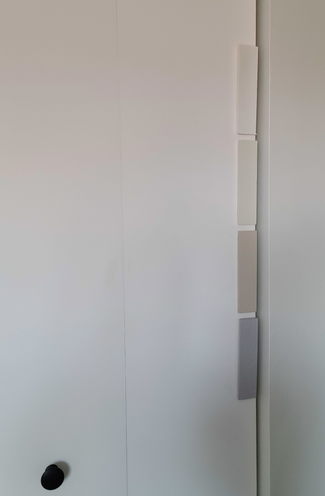
My closet doors were the last thing I upgraded in the bedroom. They were plain, white, and really boring to look at. I looked through Instagram and Pinterest and found a couple of different designs that I liked. Tested them out on the door with painter’s tape (a diy’ers best friend) and the wood strips, took some pictures and did a poll on Insta.
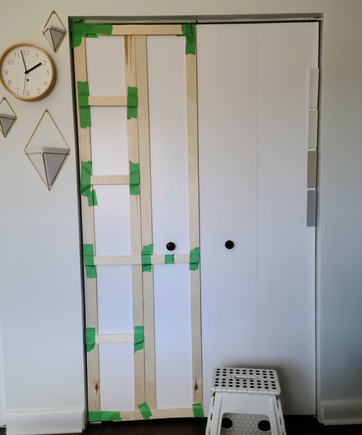
Before
|

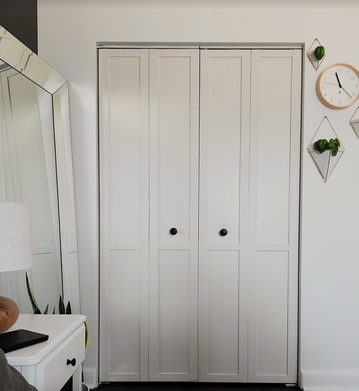
After
|
|
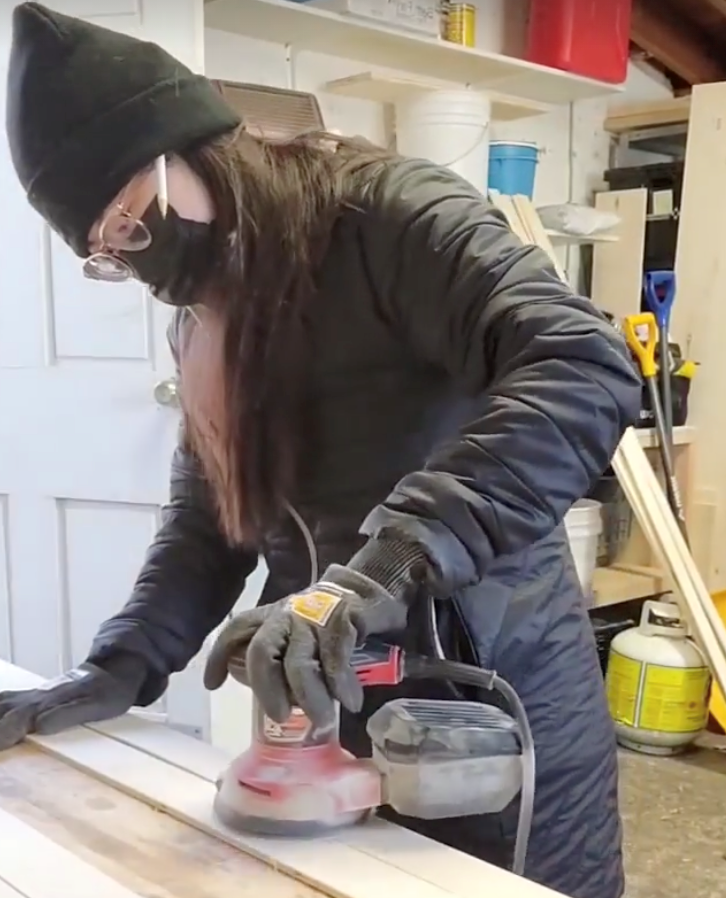
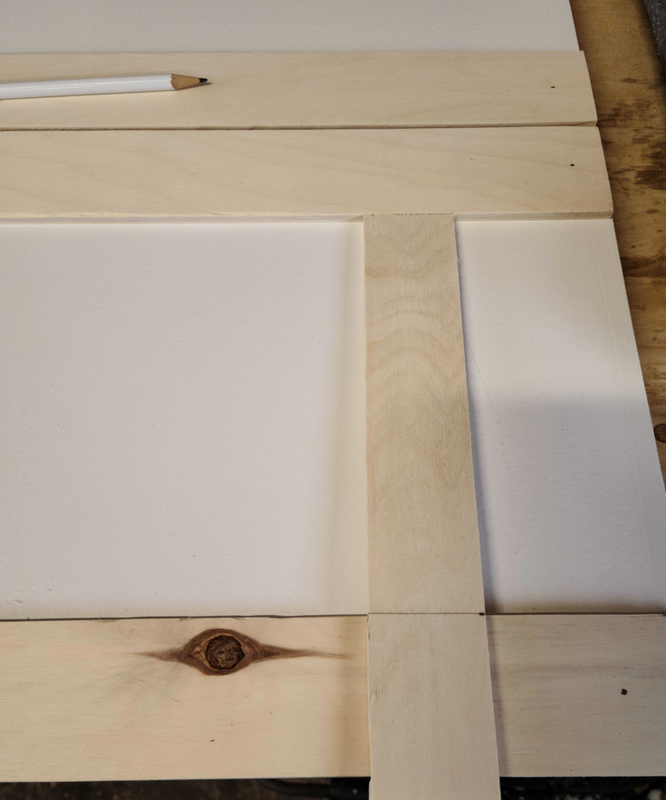
Here we go. Supplies + Tool
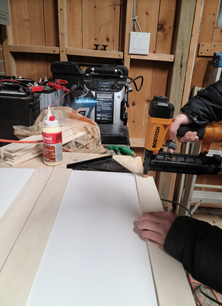
Steps
|
|
|
|
|
|
|
|
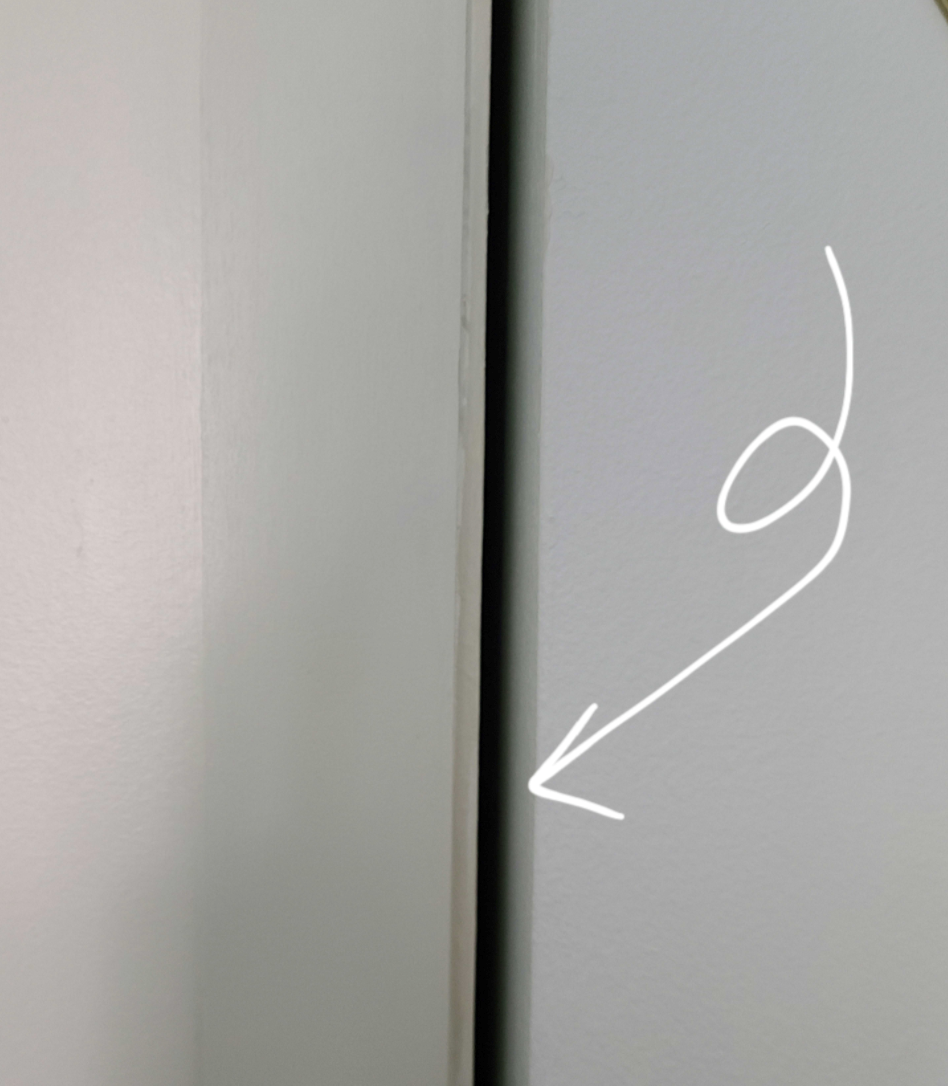
And that’s it! Let the paint dry and re-install your doors for an upgraded feel! |
Follow along @homewithsil for more DIY fun and find this closet door upgrade in my stories highlight
At the OLVE, we independently select and write about stuff we love and think you'll like too. We are not affiliated nor do we have an advertising partnerships with the brands we may feature.
At the OLVE, we independently select and write about stuff we love and think you'll like too. We are not affiliated nor do we have an advertising partnerships with the brands we may feature.