
DIY Bird Feeder ... Easy as 1..2.. Tweet!
|
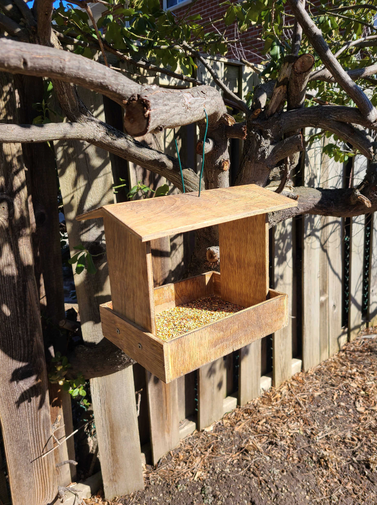
I’ve never been one for bird watching, but my mother-in-law’s backyard is home to some pretty beautiful birds. Now that she’s retired, bird watching in the morning with a cup of coffee is part of her routine. Her neighbor has a bird feeder and was attracting all the birds, so she requested for a bird feeder of her own! There are many ways to build a bird feeder. Here’s a simple one that you can make with leftover scrap wood if you have some. Here we go. Supplies + Tool
|
|
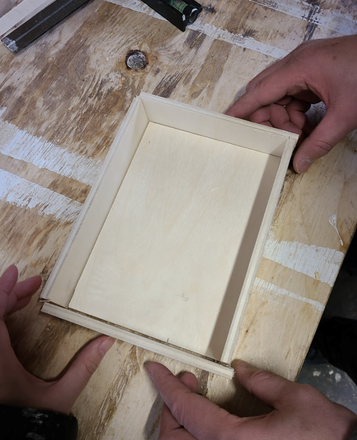
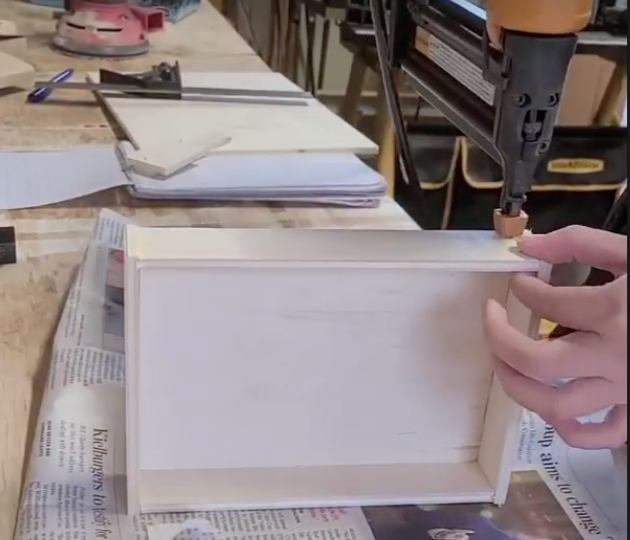
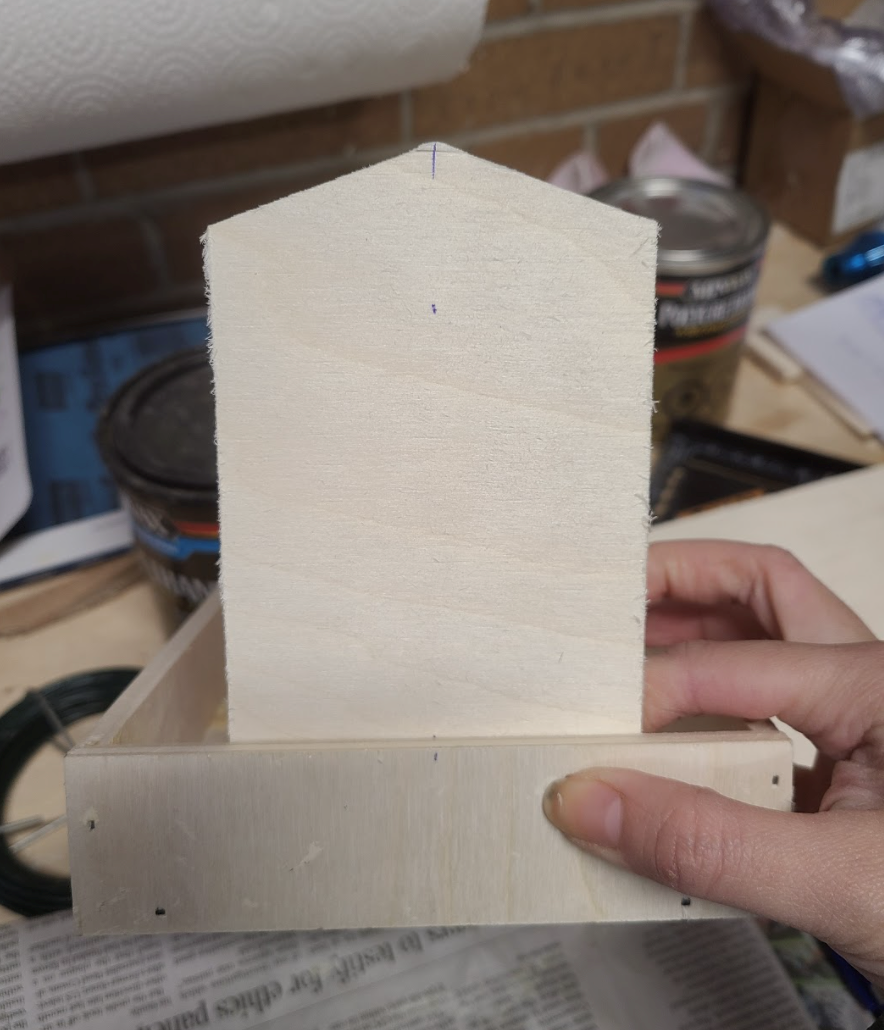
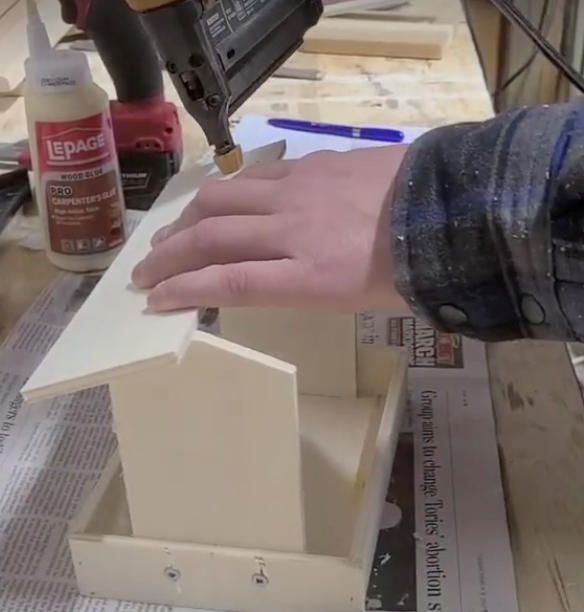
Steps
|
|
|
|
|
|
|
|
- Step 12 (Optional) // Use some wood filler to fill in some of the holes made from the nail gun. If you choose to do this step, make sure to sand it down once it’s dried so that you have a smooth surface to stain/paint.
- Step 13 // Choose your stain & stain your pieces!
- Step 14 // Add a protective sealer to finish off the pieces. I used Polyurethane because that’s what I had. The proper one should be outdoor weather proof, but if you don’t get rain all the time, you should be fine!
- Step 15 // Make 2 small holes using a drill to each side of the roof panel near the centre ridge. This is where your wire/string will go through.
- Step 16 // String the wire/string through the holes and hang in desired spot!
Now sit back with your coffee and enjoy some bird watching.
Follow along @homewithsil for more DIY fun and find this bird feeder step-by-step in my stories highlight.
At the OLVE, we independently select and write about stuff we love and think you'll like too. We are not affiliated nor do we have an advertising partnerships with the brands we may feature.
At the OLVE, we independently select and write about stuff we love and think you'll like too. We are not affiliated nor do we have an advertising partnerships with the brands we may feature.